
Seasonal baking in France often leans on humble ingredients, and a pear cake is one of those quiet, honest recipes that feels right as the weather turns cool. This French pear cake has a soft, buttery crumb and pear slices that melt gently into the top as it bakes. It’s the kind of rustic cake you can make on a slow afternoon with whatever pears you have on hand.

What I love about this kind of French home baking is how unpretentious it is. There’s nothing complicated here — no frosting, no long list of steps. It’s the sort of cake you make because you want something warm and comforting with real ingredients. A few pears, some butter, a bowl, and some time in the oven. Serve it warm with a dollop of crème fraîche, or let it cool and enjoy it with a cup of coffee. Either way, it’s simple, cozy, and really delicious.

This is also a great recipe when you’re not sure what to do with the abundance of pears of the season. As long as they’re not completely soft, they’ll bake beautifully. French home cooks often bake to avoid waste, so this is exactly the kind of recipe that gets passed from one generation to the next — practical, easy, and full of natural sweetness from the fruit itself.
Ingredients You’ll Need
This cake stays simple and leans on pantry staples. Here’s what you’ll gather:
- Unsalted butter
- Granulated sugar (plus a little for sprinkling on top — vanilla sugar is lovely here)
- Vanilla extract (store bought or homemade)
- 3 large eggs
- All-purpose flour
- Baking soda
- A pinch of salt
- Crème fraîche (or sour cream)
- Fresh pears — usually 3 to 4, depending on their size

Everything comes together into a thick, buttery batter with slices of pear sitting right on top. The fruit sinks in just a little as it bakes, giving you that pretty, rustic look that feels very French countryside.
If you want to add a touch of extra flavor, or lemon zest mixed in the batter or almond slices sprinkled on top works beautifully with pears. Both are optional, but they blend nicely with the natural sweetness of the fruit.
Choosing the Right Pears
Pears can be a little tricky, because they ripen from the inside out. For this cake, try to find pears that are:
Firm but fragrant.
They should give just slightly at the stem — too firm and they won’t soften enough in the oven; too soft and they’ll melt deeply into the batter. You want them tender after baking, not mushy.
Bartlett or Anjou work especially well.
Bartlett pears give that classic, strong pear flavor. Anjou pears hold their shape nicely and give you those clean slices on top. Either one makes a delicious cake.
Avoid fully soft pears.
If your pears are already very soft or bruised, the flavor will still be good, but the slices won’t hold their shape. The cake becomes more uniform and less “pretty,” though still wonderful to eat. If you only have soft pears, chop them up into cubes and fold them gently into the batter instead of layering them on top.
Peel and slice just before adding them.
Pears brown quickly once cut, so prep them right before they go on top of the batter. If you want to work ahead, squeeze a little lemon juice over the slices to keep the color bright.
A Nourishing Perspective: I love how this cake leans on seasonal fruit. When pears are at their peak, their natural sweetness does most of the work for you. It’s a nice reminder that simple ingredients can make something lovely.

A Few Simple Tools
You don’t need anything special for this cake. Just a few basics you likely already have:
A springform or cake pan
A 9-inch springform pan makes it easy to lift the cake out cleanly, but a regular cake pan or even a loaf pan works too. A loaf pan will give you a taller, narrower cake, while a square or round pan will bake more traditionally.
A large bowl and a small bowl
One for the batter, and one to whisk together your dry ingredients so they mix in evenly.
A stand mixer or hand mixer
Either one works. The paddle attachment on a stand mixer makes creaming the butter and sugar a little faster, but a hand mixer does the job just as well.
A wire rack
Letting the cake cool on a rack keeps the bottom from becoming too soft or steamy.
Parchment paper
Lining the bottom helps the cake release without sticking, especially when the fruit sink into the top.
Sheet pan- optional
Placing the springform pan on a sheet pan catches any accidental drips that might escape.
There’s really nothing fussy here — this is the kind of cake you can make without planning too far ahead.

How to Assemble the Pear Cake (Step-by-Step)
This batter is thick and easy to work with, which makes the layering simple. Here’s a quick look at how to arrange the pears so the top bakes up beautifully rustic.
1. Spread half the batter into your pan

The first layer of batter doesn’t need to be perfect — just smooth it gently to the edges of the pan.
2. Arrange a layer of pear slices on top

Fan the slices around the edge or place them in a simple circle. This first layer gives the cake moisture and flavor all the way through.
3. Add the remaining batter

Spoon the rest of the batter over the pears. It will feel thick — just spread it lightly without pressing down too much.
4. Finish with more pears on top
Use the prettiest slices here. They’ll sink slightly as the cake bakes and create that classic French, rustic finish.

Serving Suggestions
This French pear cake is lovely on its own, but a few simple touches make it feel extra cozy:
- Warm with a dollop of crème fraîche or chantilly
- With a scoop of vanilla ice cream
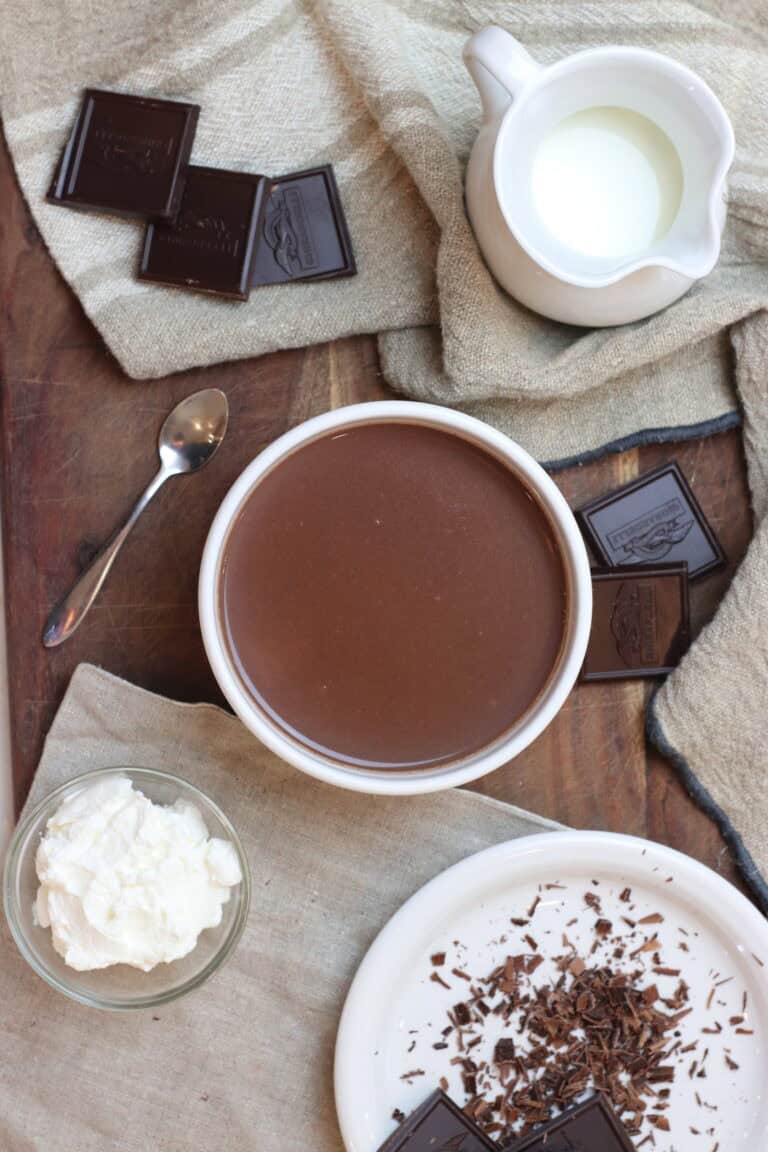
- With coffee, French hot chocolate, or a quiet cup of tea
- Or simply a plain slice as a little goûter (afternoon snack)
If you’re serving guests, sprinkle the top with a little vanilla sugar right before bringing it to the table. It adds a soft shimmer and a hint of extra sweetness.

Closing Note
I hope this French pear cake becomes one of those easy, comforting recipes you return to throughout the season. It’s the kind of thing you can make on a slow afternoon or bring to a friend’s house with almost no effort. Once you bake this pear cake and taste how delicious it is, you’ll understand how a simple, French-style cake can feel special without any fuss.
Bon appétit,
Gaby

Classic French Pear Cake
Equipment
- 1 large bowl
- 1 small bowl
- 1 mixer stand or hand held
- 1 9 inch springform pan or regular cake pan
- parchment paper for lining the bottom of the cake pan
- 1 sheet pan optional, if using a springform pan
Ingredients
- 3/4 cup Unsalted butter
- 1 1/2 cups Granulated sugar plus a little for sprinkling on top
- 1 tsp. Vanilla extract
- 3 large eggs
- 1 1/2 cups All-purpose flour T45 French flour also works well
- 1/4 tsp. Baking soda
- A pinch of salt
- 1/2 cup Crème fraîche or sour cream
- 3-4 Fresh pears pealed, halved, cored, and cut into 1/4 inch slices
Instructions
- Preheat your oven to 315°F. Butter the sides and bottom of a springform pan (or regular cake or loaf pan). Line the bottom of the pan with parchment paper for easy removal.
- In a large bowl or stand mixer fitted with the paddle attachment, beat the unsalted butter and sugar until light and fluffy, stopping to scrape down the sides of the bowl as needed. Mix in the vanilla extract.
- Add the large eggs, one at a time, mixing well after each addition.
- In a small bowl, whisk together the flour, baking soda, and salt.
- Add half of the flour mixture to the egg mixture, then the crème fraîche, then the rest of the flour. Mix just until a smooth, thick cake mixture forms.
- Spread half of the batter into the prepared pan. Arrange the pear slices across the top of the batter, in a circular shape. Spread the other half of the batter on top of the pears, and arrange the remaining pear slices across the top of the batter. Sprinkle with a little granulated sugar or vanilla sugar.
- Bake for 1 hour and 15 minutes, or until the edges of the cake are a deep golden brown and a blunt knife inserted in the center comes out clean. The pears should look soft and glossy, with juicy chunks of pear showing through the top.
- Let the cake cool in the pan for about 10 minutes, then transfer it to a wire rack. Move it gently onto a serving plate once fully cooled.
Notes
- Choose firm, ripe pears for the best texture. If your pears are very soft, cut them into small cubes and gently fold them into the batter instead of layering.
- Line the bottom of the pan with parchment paper. Because the pears release their juices as they bake, this cake stays wonderfully moist — and the parchment helps with easy removal.
- Let the cake cool in the pan for about 10 minutes before unmolding. This short rest keeps it from breaking apart while still warm.


Thank you for the suggestions on how to pick just the right pears! That is very helpful.
You’re welcome! I’m so glad that it was helpful. I hope that you enjoy your pear cake!