This post may contain affiliate links. Read our full disclosure policy here.
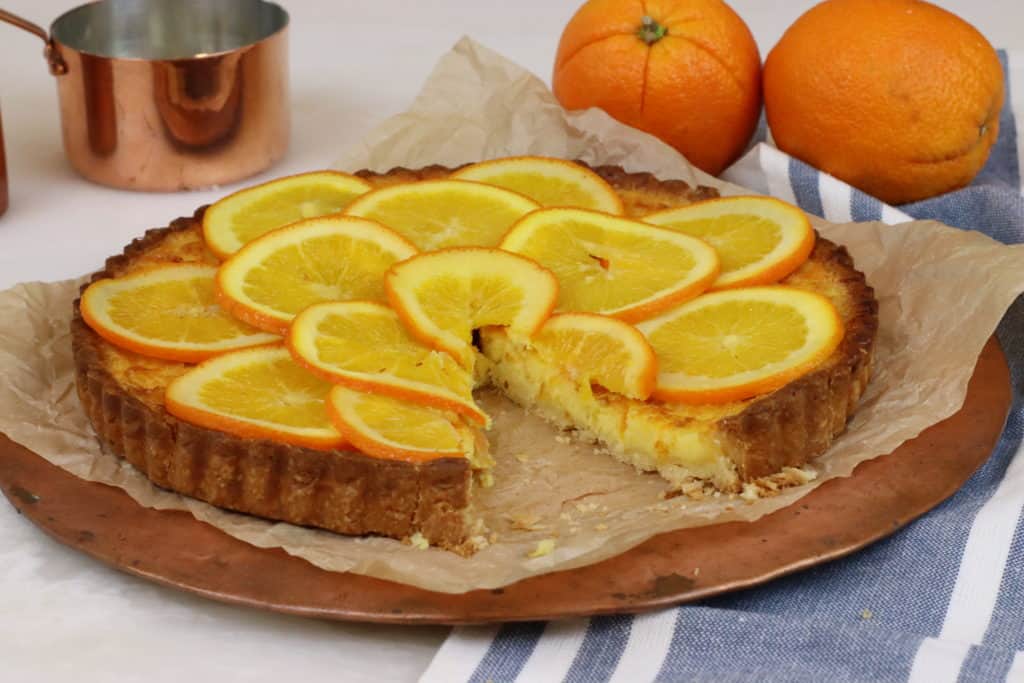
This Classic French Orange Tart recipe is the perfect dessert for a hot summer day. It is bursting with fresh citrus flavor, which pairs beautifully with the buttery pâte sucrée crust. This orange tart is similar to its cousin, the French Lemon Tart (Tarte au Citron), but it is slightly sweeter and has a very distinct orange flavor.
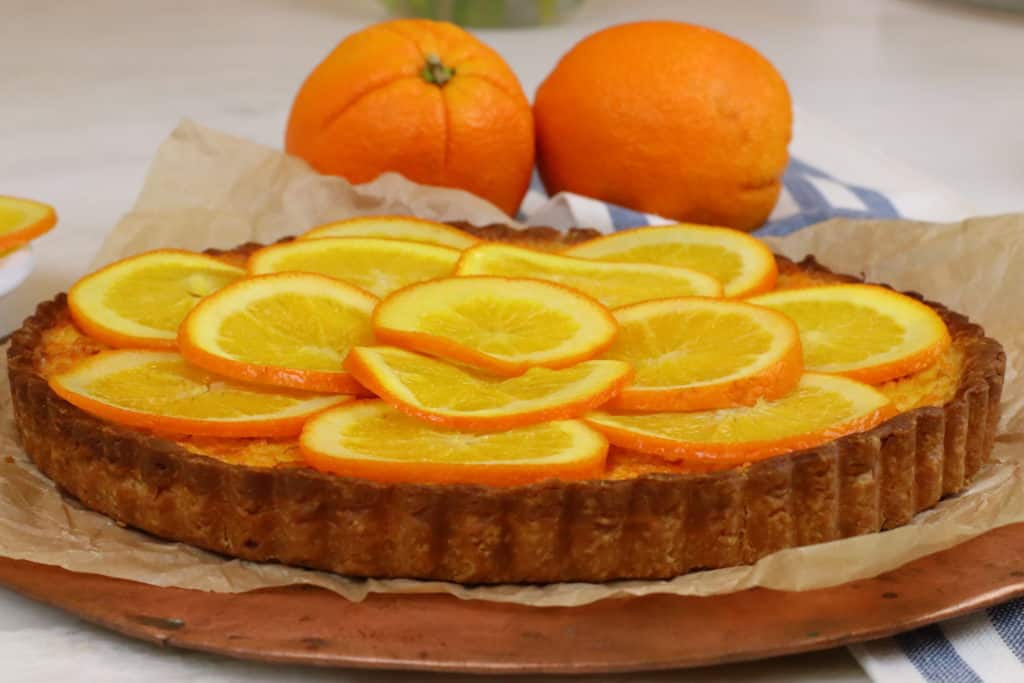
Incorporating fresh orange juice and orange zest into the orange filling gives this tart a naturally bold flavor that tastes bright and fresh in every bite.
What Type of Oranges Should You Use?
Try to choose oranges that are uniform in size. This helps with even cooking throughout, and it also looks lovely to have all of the orange slices the same size when garnishing the top of the tart.
I used navel oranges. They’re juicy and flavorful, though the presence of the “navel” sometimes distorts the pattern of the slices. You can work around this by cutting closer to the center of the fruit, and saving the ends for infused water, candied orange rinds, or an orange simple syrup.
Blood oranges are also a wonderful option. They add a deeper, more dramatic color, and you won’t run into the navel issue.
How Should You Slice The Oranges?
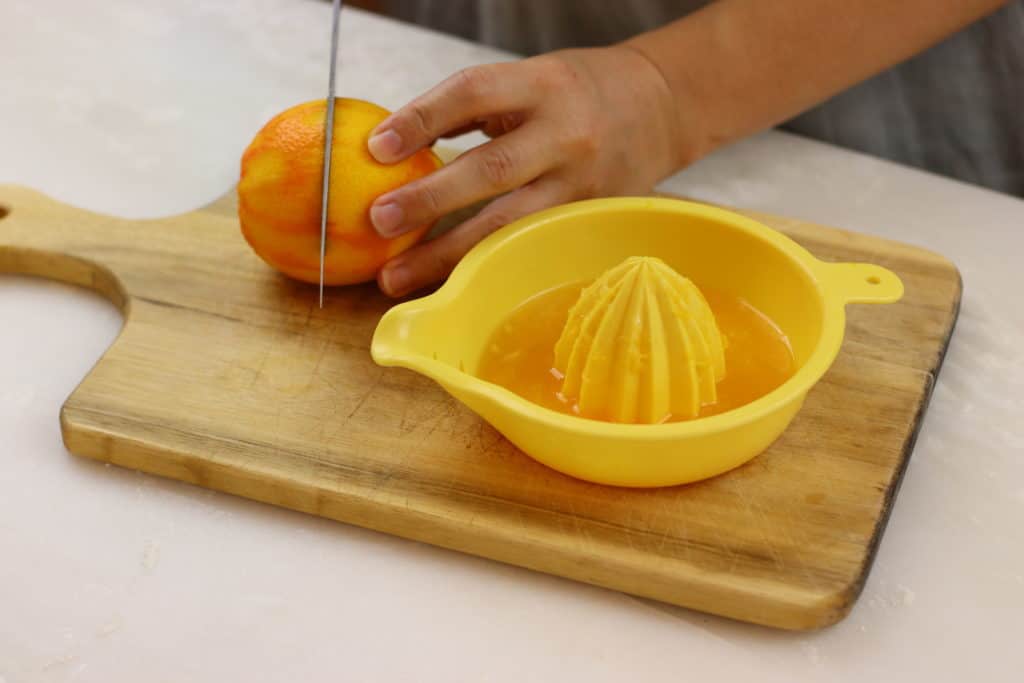
I recommend using a very sharp paring knife to slice the oranges. You can also use a mandoline, but unless the blade is extremely sharp, it can macerate the fruit.
Cut the slices about 1/8 inch thick. This gives them enough structure to hold up in the simple syrup bath, yet keeps them thin enough to cook through and become tender while baking.
Preparing The Orange Slices
The candied orange slices will be placed on top of the tart after baking, so it’s best to cook them separately in a simple syrup.
Orange slices simmering in a pot of simple syrup.
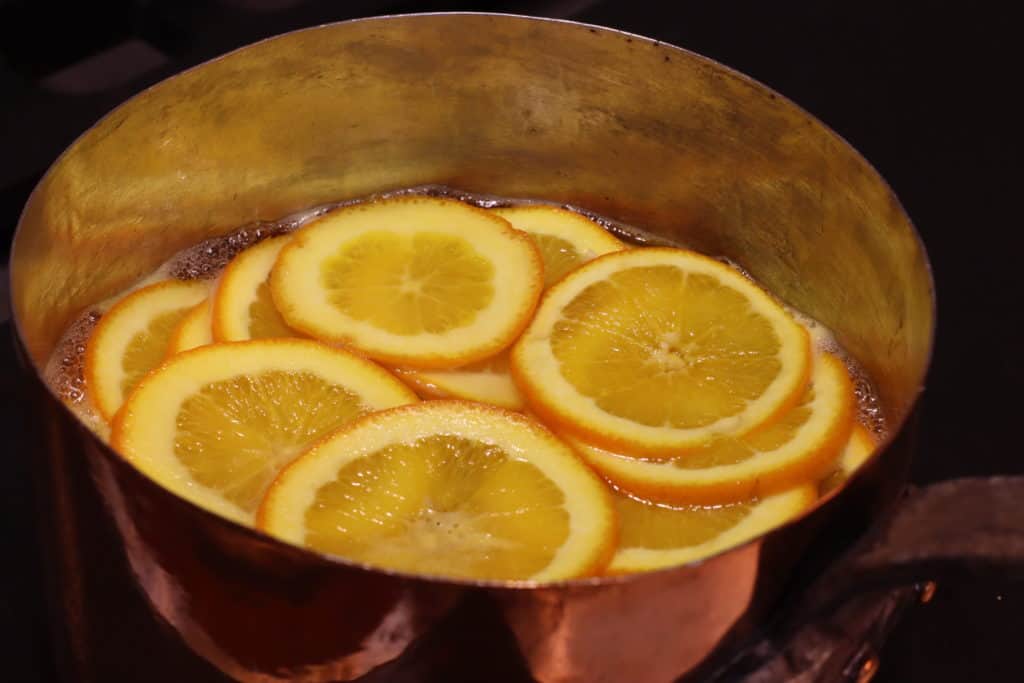
Mix equal parts sugar and water in a small saucepan, bring to a simmer, and add the orange slices until fully submerged. Simmer gently for 30 minutes. Then remove them with a slotted spoon, placing them on a parchment-lined baking sheet to dry while you prepare the tart.
Mix even amounts of water and sugar in small sauce pan, and bring to a simmer. Then, place the orange slices into the the sauce pan, ensuring that all of them are completely submerged. Simmer the orange slices on low heat for approximately thirty minutes.
At the end of thirty minutes, use a slotted spoon to remove the orange slices, and place them onto a baking sheet lined with a piece of parchment paper. Allow them to dry while preparing the tart.
Making The Orange Filling
The filling is simple and comes together quickly. In a mixing bowl, whisk together egg yolks, sugar, and butter to create the base. Add orange zest and juice for that bold, bright citrus flavor.
The Tart crust
The tart crust is made from a pâte sucrée, a sweet shortcrust pastry common in French patisserie. Buttery and versatile, it pairs beautifully with fresh fruit desserts.
For this recipe, the crust is par-baked. Chilling the dough both before rolling and after pressing it into the tart tin keeps it easy to handle and helps prevent shrinking during baking.
Par-baking The Tart Crust
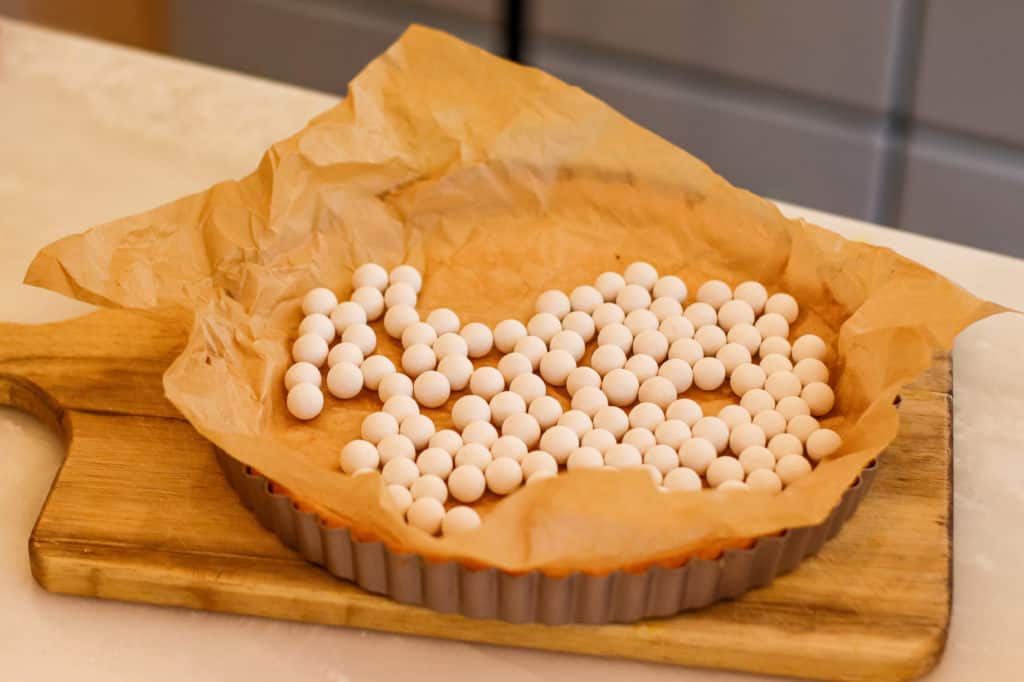
To keep the crust from puffing up, prick the bottom with a fork (“docking”), or line with parchment paper and fill with pie weights or dried beans.
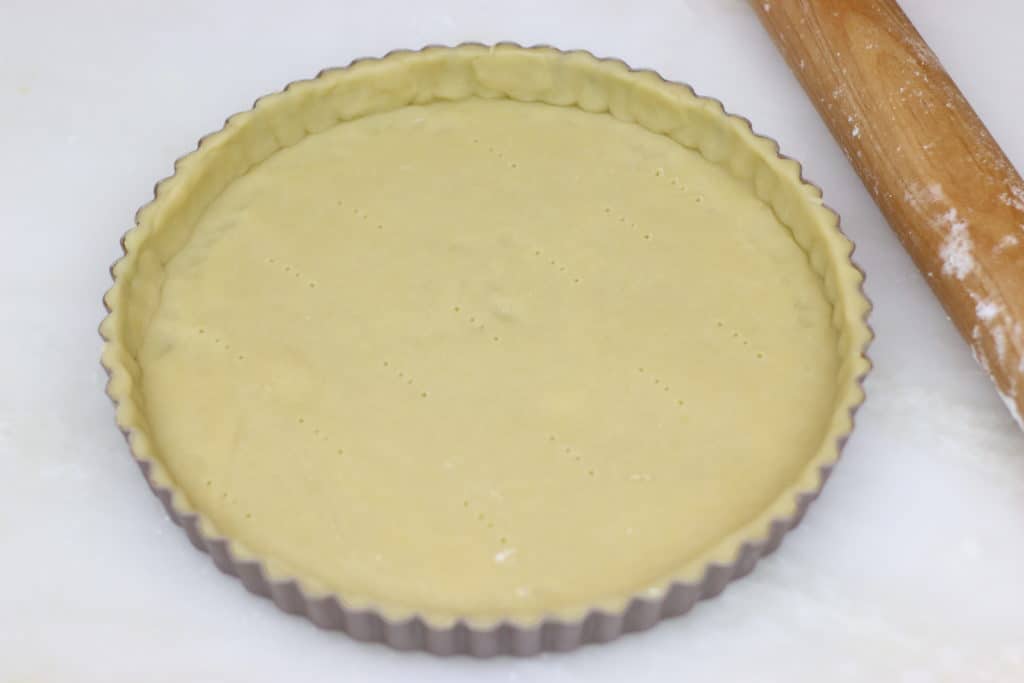
A tart pan with a removable bottom makes it much easier to unmold the tart cleanly once it’s baked.
Tip: If you choose pie weights or dry beans, crumble up the piece of parchment paper and then open it back up before placing it on the unbaked tart crust. This keeps the pie weights from rolling around, and makes it easier to remove it when it is time.
Putting It All Together
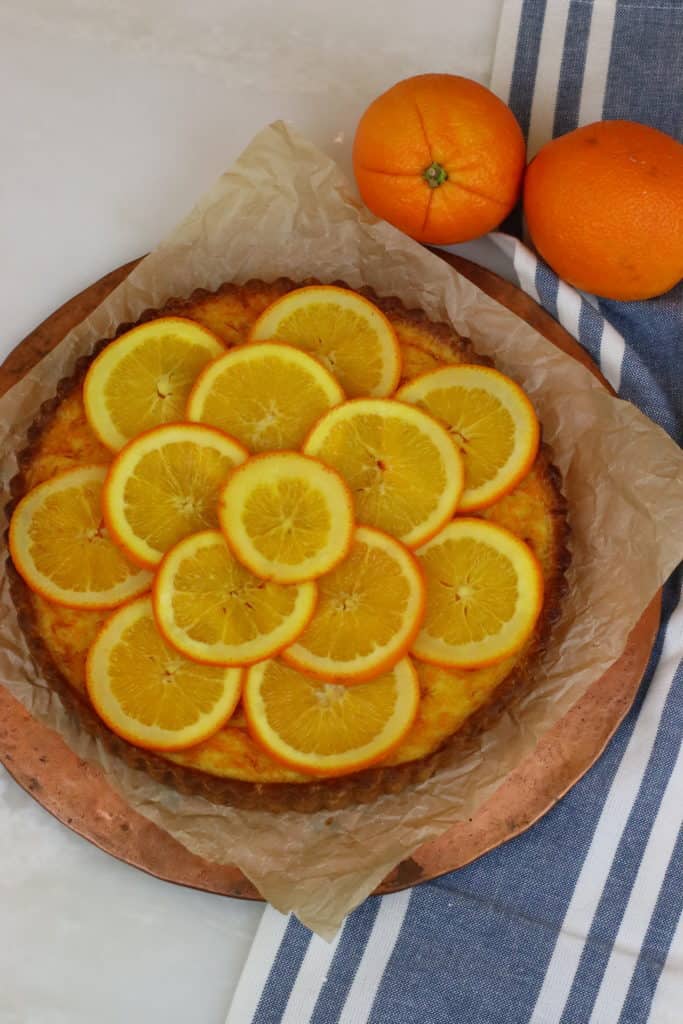
Once the tart shell is partially baked, pour in the orange filling. Bake for 25 minutes, or until the top is golden brown. Remove and cool on a rack before arranging the candied orange slices in a decorative pattern on top. Allow to come fully to room temperature before slicing and serving.
Shelf Life Of The Classic French Orange Tart
This tart keeps for up to three days in the refrigerator, stored in an airtight container or covered with plastic wrap to prevent drying.
Serving Suggestions
This classic French Orange Tart is best served at room temperature.
- Pair with a small glass of Grand Marnier or Cointreau.
- Add a dollop of homemade whipped cream (chantilly) for richness.
- As with many French desserts, it makes a wonderful treat for le goûter (afternoon snack).
A Nourishing Perspective: The French remind us that even desserts can strike a balance — highlighting seasonal fruit, savoring smaller portions, and turning simple ingredients into something both delightful and uplifting.
Closing
A classic tarte à l’orange is proof that French desserts don’t need to be complicated to feel special. With its buttery crust, bright citrus filling, and jewel-like candied slices on top, this tart is elegant enough for a celebration yet simple enough to enjoy on a summer afternoon.
Why not try it this weekend — and let a little French sunshine brighten your table?
Bon appétit,
Gaby
Classic French Orange Tart Recipe
Equipment
- 1 small sauce pan
- 1 9 – 10 inch tart tin
- 2 mixing bowls
- 1 mandoline optional
- 1 zester
- 1 Rolling Pin
Ingredients
Pâte Sucrée tart crust
- 3 cups all purpose flour
- 1/2 cup powdered sugar granulated sugar can be substituted, but will change the texture of the crust
- 1/2 tsp salt
- 1 cup cold, unsalted butter, cut into small cubes
- 2 large egg yolks
- 1/3 cup heavy cream
Orange tart filling
- 4 eggs
- 3 oranges
- 1 tbsp cornstarch
- 1/2 cup butter, softened
- 3/4 cup powdered sugar
Sliced Oranges for Garnish – Optional
- 3 oranges, sliced into 1/8" slices
- 2 cups granulated sugar
- 2 cups water
Instructions
Pâte Sucrée
- In a large bowl, mix together the flour, sugar and salt.
- Add the cubes of cold butter to the flour mixture. Using your hands, toss the cubes of butter in the flour mixture until they are coated.
- Working quickly as to not allow the butter to melt, press the flour and butter mixture between the fingertips of your thumbs, index, and middle fingers. Continue to press the mixture with your fingertips until the it resembles a grainy mixture. Set aside.
- In a small bowl, whisk the egg yolks, and heavy cream together.
- Drizzle the egg mixture over the flour and butter mixture, and use a fork to toss the mixture until no dry ingredients are visible. Be careful to not overwork the dough.
- Divide the dough into two parts, and shape each into a disk. Wrap them in plastic wrap and place into the refrigerator for at least one hour to chill.
Orange Slices for Garnish – Optional
- Using a sharp paring knife or mandoline, slice the oranges into 1/8" slices.
- Place 2 cups of sugar and 2 cups of water into a small saucepan. Simmer over low to medium heat, until the sugar is completely dissolved.
- Place the orange slices into the simmering syrup, and ensure that the slices are completely submerged.
- Simmer the orange slices for 30 minutes.
- Using a slotted spoon, remove the orange slices from the syrup mixture, and place them on a baking sheet line with parchment paper to dry. Allow them to dry while preparing the orange filling, and baking the tart.
Par-baking The Tart Crust
- Remove the Pâte Sucrée dough from the refrigerator, and roll out on a lightly floured surface. Roll the dough out to a large enough circle to fill the tart tin, plus 1-2 inches for the sides (eg. a 9 inch tart tin would need a 12-13 inch circle).
- Using your rolling pin, wrap the dough around the rolling pin and gently transfer to the tart tin. Press the dough into the tart tin and up the sides. Use your rolling pin to roll over the edges of the tart tin to remove any excess dough. If the dough tears, simply use the excess to do a little patchwork.
- Place the tin and dough into the refrigerator for 15 minutes. Preheat the oven to 350 degrees.
- After the dough and tart tin have chilled for 15 minutes, remove them from the refrigerator, and use a fork to poke holes on the bottom surface of the unbaked tart dough.
- Bake in the preheated oven for 15 minutes.
Orange Filling
- While the tart crust is baking, prepare the orange filling by first washing and drying the oranges.
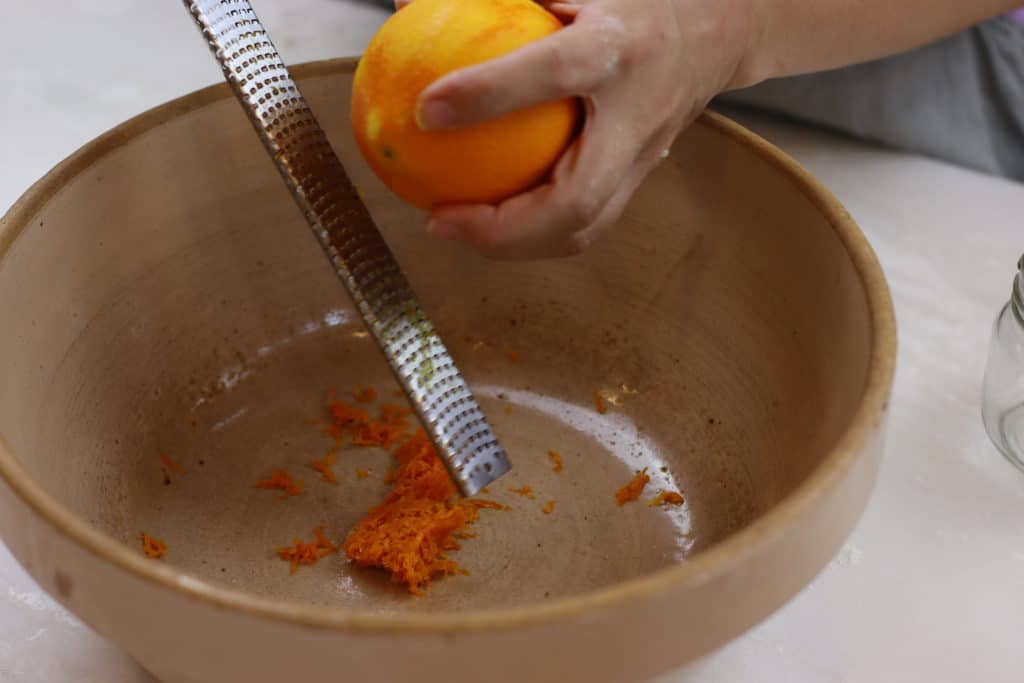
- Zest 3 of the oranges.
- Place the zest in a medium sized bowl and add the cornstarch. Toss together until the zest is fully coated.
- Juice 2 of the zested oranges, and add the orange juice to the orange zest and cornstarch mixture. Mix together with a fork.
- In a separate bowl, lightly beat the eggs, and add the powdered sugar. Continue to beat the egg and sugar mixture with a whisk until it becomes light yellow in color.
- Add the softened butter to the egg and sugar mixture, and mix until fully incorporated.
- Add the egg mixture to the bowl with zest and orange juice. Mix until incorporated.
- Pour the orange filling into the partially baked tart crust.
- Place the tart in preheated oven and bake for 25 minutes.
- The tart is ready when the top of the tart is golden brown in color.
- Place the tart on a cooling rack, and allow it to cool for about 5 minutes before removing from the tin. Allow it to cool completely on the cooling rack prior to serving. It can be served at room temperature or chilled.


