This post may contain affiliate links. Read our full disclosure policy here.
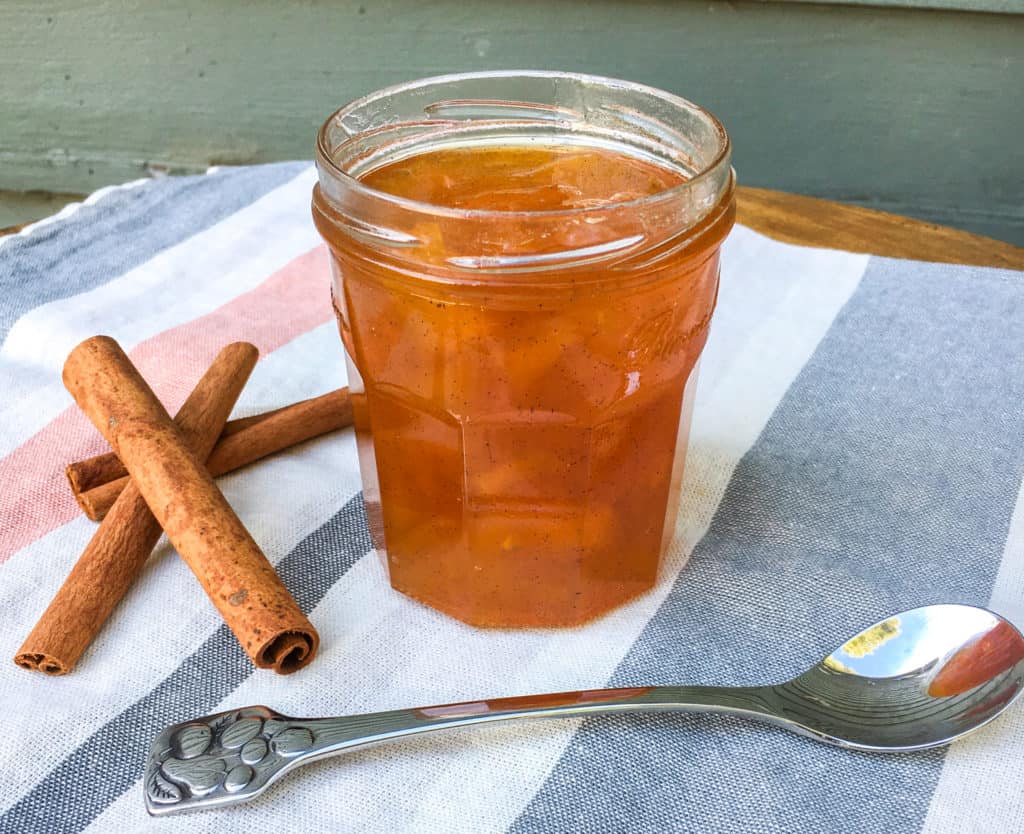
There’s something so comforting about opening a jar of homemade pumpkin jam — the sweet fragrance, the golden color, the way it transforms a simple piece of bread into a treat. This recipe for confiture de citrouille (pumpkin jam) is one my family has cherished for generations. My great-grandmother made it every autumn, my mother grew up with it, and now I am so happy to pass it along to you.
Pumpkin’s mild flavor is beautifully lifted by lemon peel, cinnamon sticks, and a touch of sugar, making this jam fragrant, balanced, and truly delicious. It’s a simple recipe, but one that feels like fall in every spoonful.
A French Farmhouse Way to Use Pumpkins
With the cool, crisp air of autumn comes pumpkins of every size and shape. Often they’re bought for decoration — lined up on porches, tucked into corners of the kitchen. But in the French farmhouse tradition, nothing goes to waste. While some pumpkins become pies and others have their seeds roasted, many in my family ended up simmered into this jam.
It’s a beautiful way to use the pumpkins that might otherwise be forgotten after Halloween — turning them into something that can be enjoyed for months to come.
What Kind of Pumpkin Works Best?
Fresh pumpkin flesh works best for this jam. Any variety will do, but I recommend choosing organic when possible.
In France, my great-grandmother often used potirons — a sweeter cousin to the pumpkin. While these aren’t common in the United States, don’t worry: a regular citrouille (pumpkin) works just as well. In fact, on her handwritten recipe card she wrote, “potiron ou citrouille” — use whichever you have! I took some notes when I made it myself, and I will include the missing information in these step-by-step instructions.
A Nourishing Perspective: Pumpkin jam is a gentle reminder that nourishing food doesn’t have to be complicated — it’s about using what we have, reducing waste, and turning humble ingredients into something comforting and beautiful.
Preparing the Pumpkin
We’ll be using only the flesh of the pumpkin:
Place the pumpkin upright on a cutting board. With a large knife or vegetable peeler, carefully slice away the skin, working from top to bottom.
Cut the pumpkin in half, remove the stem, and scoop out the seeds. Save the seeds for roasting with olive oil, salt and pepper. They are great for Apéro.
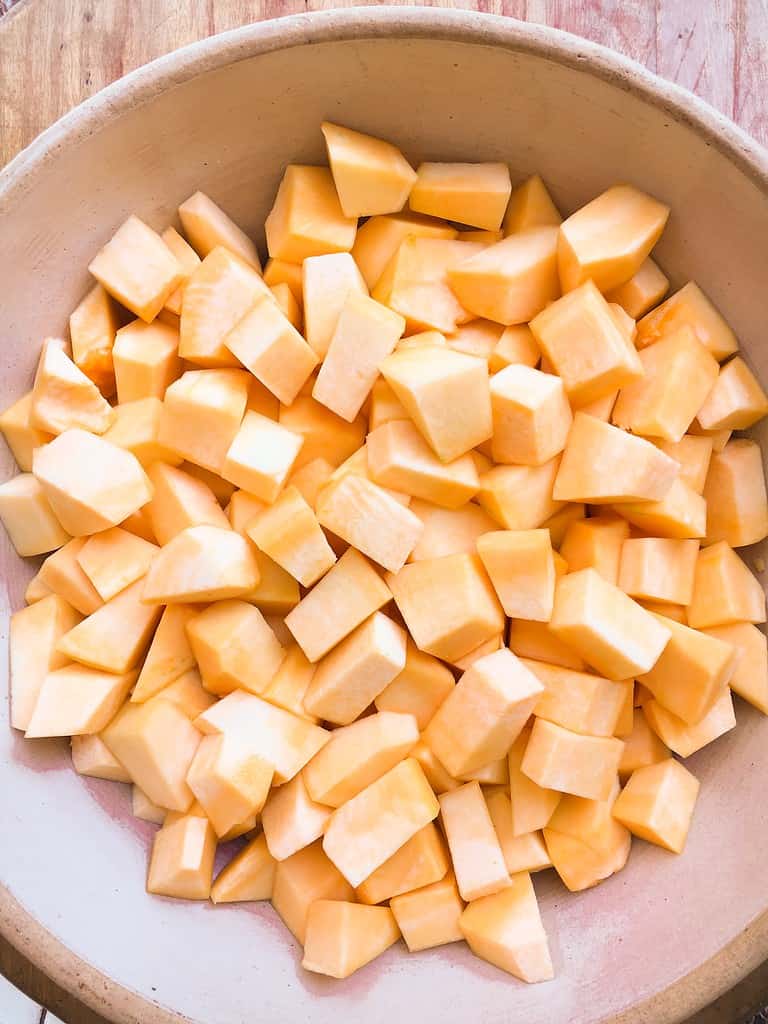
Slice the halves into strips, then cut into 1-inch cubes. These small pieces will cook evenly and soften beautifully in the jam.
Measuring Ingredients
Because this is a French family recipe, the original measurements are in kilograms. Don’t worry — I’ve translated them for you:
- Pumpkin flesh: 2 kilos (about 4.4 pounds)
- Granulated sugar: 1.5 kilos (about 3.3 pounds)
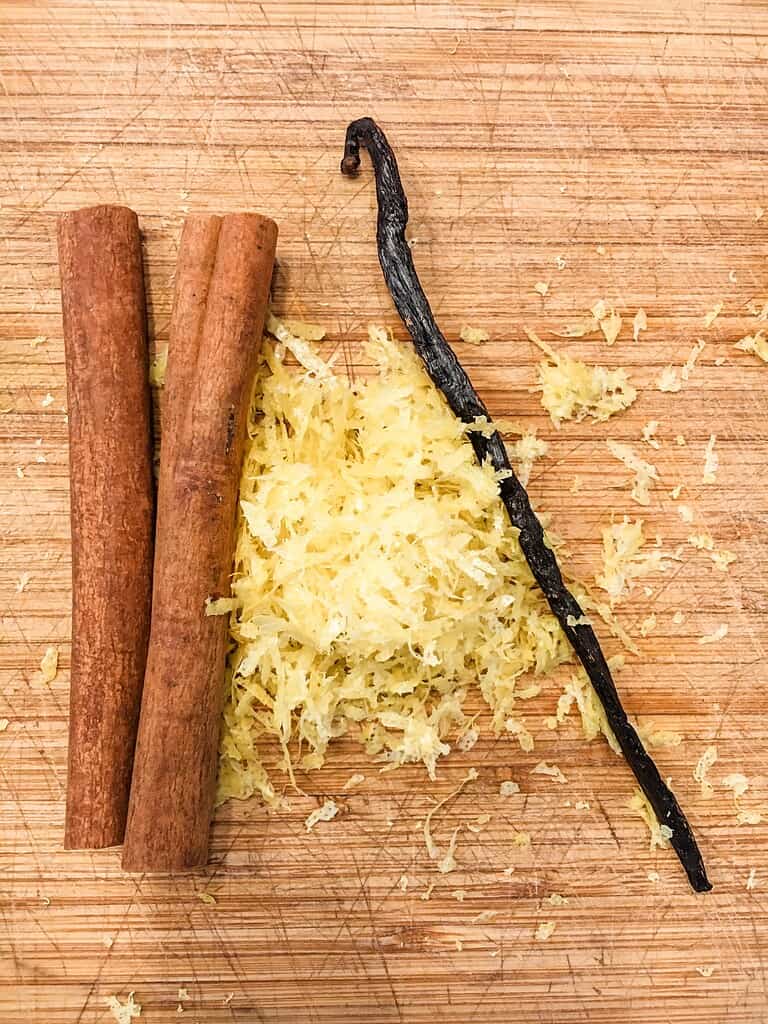
- Zest of 2 lemons
- 1 vanilla bean
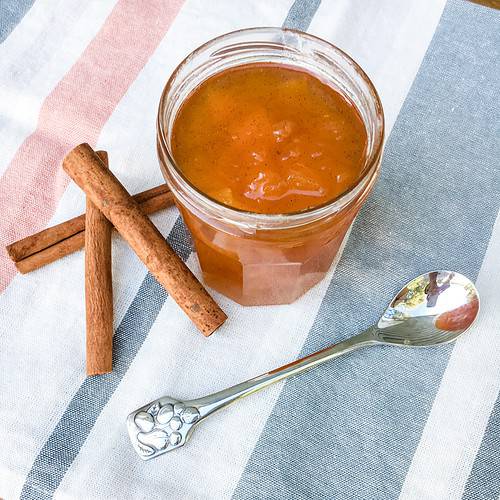
- 2 cinnamon sticks
- 3 tablespoons of dark rum
A kitchen scale is helpful here, but approximate weights will still give you wonderful results. This recipe can also be doubled or tripled as needed to accommodate the size of your pumpkin. Just be sure to lengthen the cooking time a little to get the desired consistency.
Cooking the Pumpkin Jam
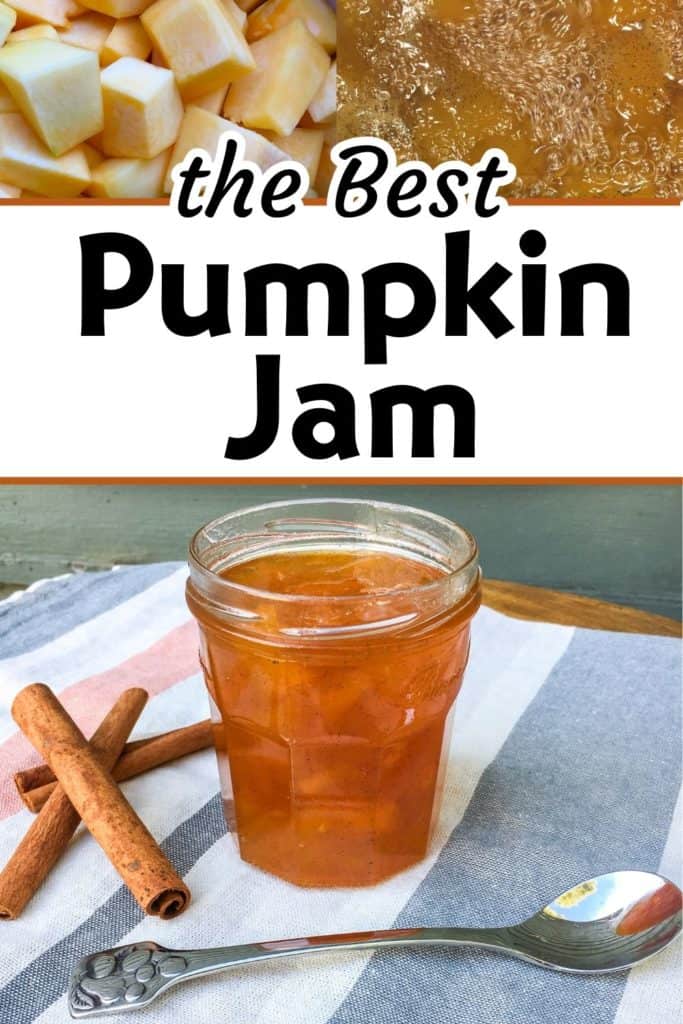
In a large pot, combine the pumpkin cubes, sugar, and a splash of water. Simmer gently over medium-low heat for about one hour, stirring occasionally with a wooden spoon.
Add the lemon zest, cinnamon sticks, vanilla bean, and rum. When using vanilla beans, I like to preserve them carefully — snipping just the tip off to release the fragrant seeds, then tucking the pod back into the mixture to keep infusing flavor. (It’s the same method I use in my homemade vanilla extract recipe, which lets you make the most of every bean.)
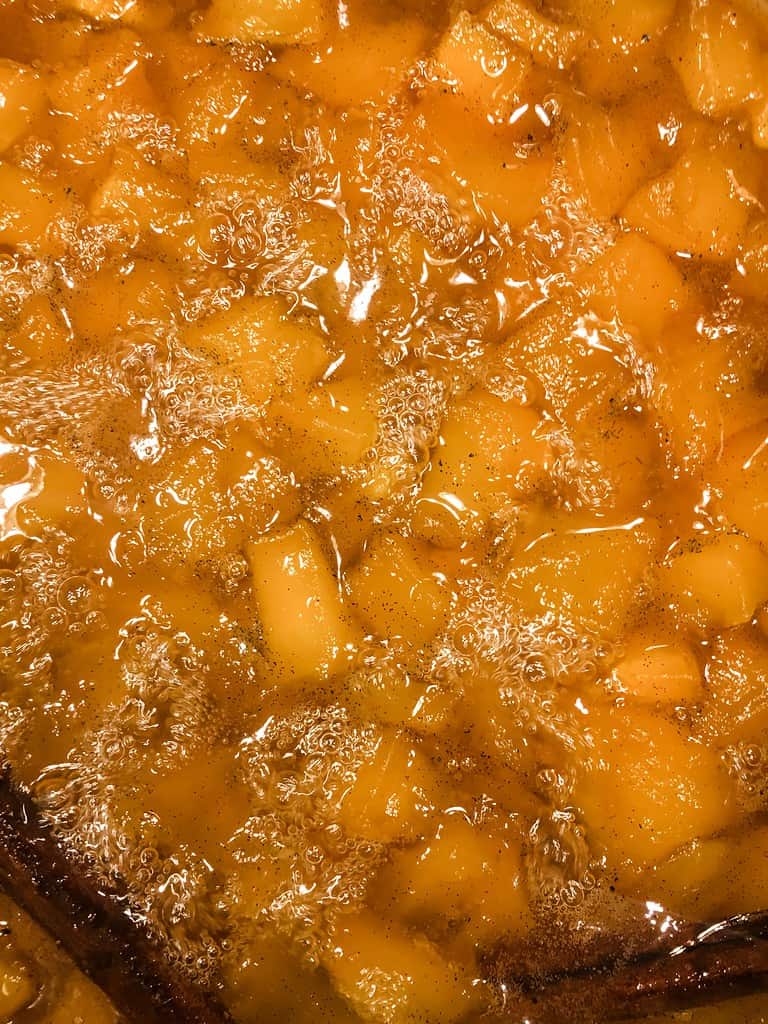
Increase to medium heat and bring the mixture to a rolling boil. Stir often, scraping down the sides of the pot as it thickens (this takes about an hour).
How to Know When It’s Ready
There are several ways to check if your jam has set:
Frozen spoon test (my mother’s method): Dip a frozen spoon into the jam, then run your finger through it. If the line stays clear, the jam is ready.
Candy thermometer: When it reaches 220°F, it’s ready.
Drop test: Drop a spoonful into cold water. If it holds together, it’s done.
Canning the Pumpkin Jam
Use sterilized jam jars to preserve your jam. Place the glass jars and lids in a large pot, and cover completely with water. Boil for 10 minutes. Using jar lifter tongs and magnetic lid lifter, place the boiled jars and lids on a cooling rack. Carefully ladle the hot jam into jars, seal immediately, and let them cool at room temperature. Store them in a cool, dark pantry — they’ll keep for up to two years (though in my house they never last that long!). Once opened, keep refrigerated.
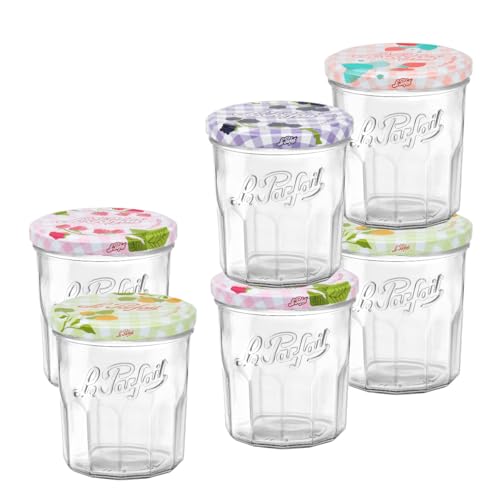
I love using Le Parfait jars — not only do they seal perfectly, but they look beautiful on the shelf, too.
Ways to Enjoy Pumpkin Jam
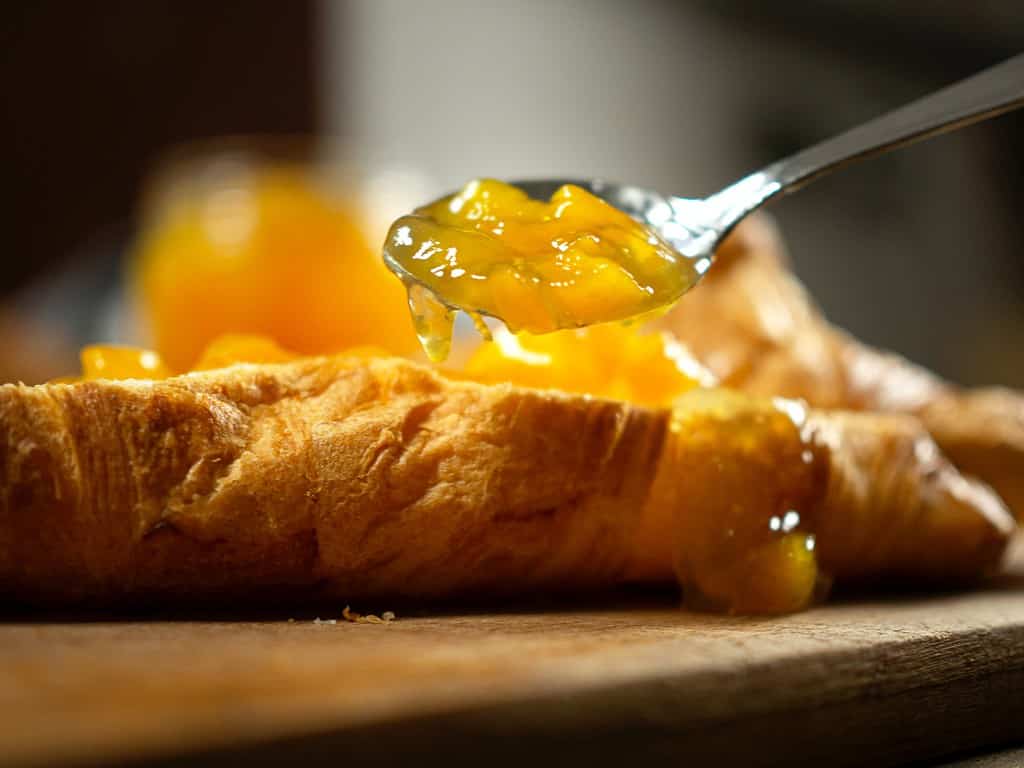
- Spread on a toasted baguette or croissant for breakfast.
- Dolloped over warm crêpes for goûter.
- As a thoughtful homemade gift — perfect for a Thanksgiving hostess or tucked into a Christmas basket.
This recipe is a reminder that food can be both practical and joyful — reducing waste while bringing sweet pleasure to everyday life.
Bon appétit!
Gaby
Homemade Pumkin Jam (Confiture de Citrouille)
Equipment
- Large Pot
- 6, 13 oz. sterile canning jars
- Kitchen scale
- 1 Regular spoon placed in the freezer
- 1 Wooden spoon optional
Ingredients
- 2 kg (4.4 lbs.) pumpkin flesh diced into 1 inch cubes
- 1.5 kg (3.3 lbs.) granulated sugar
- 3 tbsp water
- zest of 2 lemons
- 1 vanilla bean
- 2 cinnamon sticks
- 3 tbsp Meyer's dark rum Any dark rum will work
Instructions
- Place an everyday spoon into the freezer for later.
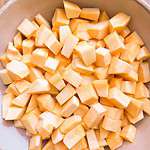 Place the diced pumpkin flesh, granulated sugar, and water in a pot.
- Simmer over medium heat for one hour, stirring occasionally.
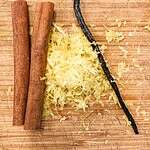 At the end of the first hour, add the lemon zest, vanilla bean, cinnamon sticks, and rum, to the mixture. Stir until incorporated.
- Cook over medium heat for an additional hour, stirring occasionally, and scraping the sides of the pot so that the jam does not stick.
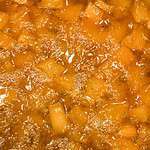 When you are nearing the end of the full 2 hours, test for doneness. Spoon out a small amount of jam, and drop it onto a separate, frozen spoon and allow it cool. Wipe your finger through the cooled jam. It is ready when it does not run back together after being wiped.
- When the jam is done, remove the cinnamon sticks and vanilla bean, and place the jam into jars.
- Allow the jars of jam to cool to room temperature before putting them away. They can be stored in your pantry for up to 2 years. Refrigerate after opening.
Nutrition



I love pumpkin and I am looking forward to making this! My husband, however is not a pumpkin fan. Do you think that I could make this with oranges or lemons? How would I need to modify the recipe?
Hello!
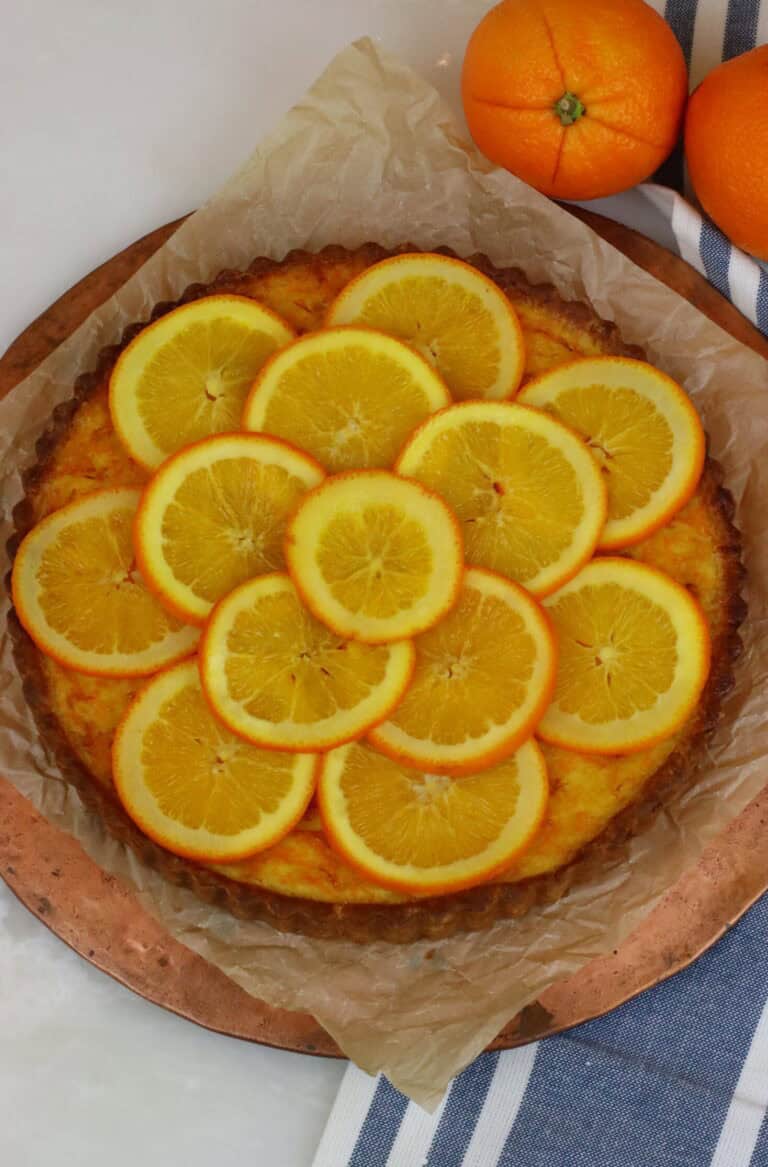
The actual flavor of this jam is very mild and doesn’t read pumpkin like pumpkin pie or pumpkin bread. So, he might not mind it! But, yes, you can substitute oranges, and you might want to omit the cinnamon (depending on your flavor preference). If you use oranges, use seedless, cut them in quarters, and then pulse them in the food processor (peel and all) before cooking. I hope that helps! Let me know if you try it!